
Basic Visual Package
When you want to see and approve the design quickly
from 2,000 AMD / m²
Typical 3 m kitchen (6.12 m², simple complexity): ≈ 12,200 AMD
- 3D link, AR, 4K images and a video
- Link: 30 days
- Up to 2 free minor revisions
Your measurements become an accurate 3D model, images and a 3D link, plus production files for business. Four steps, the price up front.
After each step you know what you have received and what comes next.
You tell us the furniture and send measurements or photos of the room.
In the request form you pick a package or leave the choice to us, tell us the furniture and attach measurements, a hand sketch or photos of the room. Makers can send their own drawings. What to measure, and how, is just below.
Result
Request received
We confirm the price and the timeline before any work starts.
The price follows the furniture front in m², not the floor area of the room. We check the front and the complexity, then send the price and the timeline. Sending a request costs nothing.
Result
Price and timeline, up front
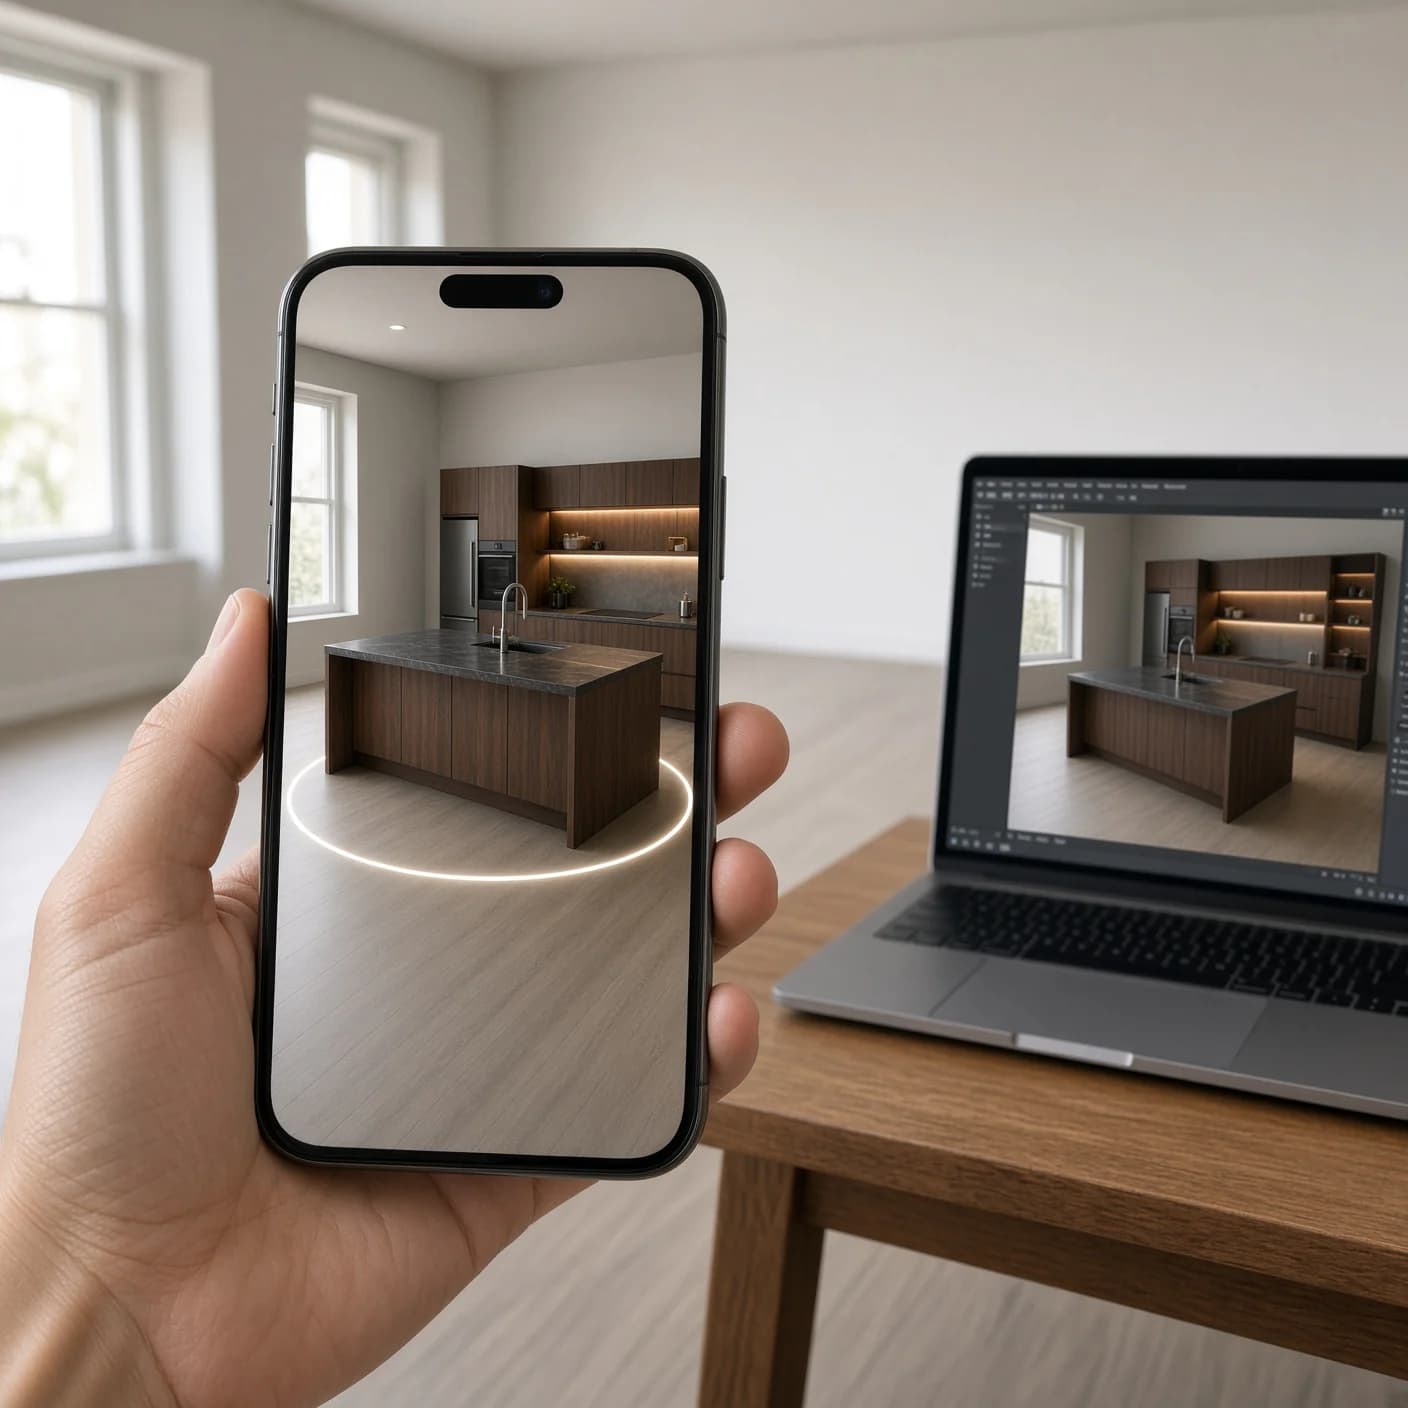
You open the 3D link, switch colours, check it in AR and approve.
We build an accurate 3D model of the room and the furniture in real materials. You open your project's 3D link: turn it, open the doors, switch materials and colours, see the furniture in your room in AR, mark your changes and approve. With the Live 3D packages you can do the same while walking through your future home in real time.
Result
An approved version in 3D
For individuals: images, a video and a link for your maker. For business: the workshop files too.
The 4K images, the video and the 3D link on one private page. With the Complete Production Package, a business also gets the cutting map (raskroy), edge banding, 2D assembly drawings in mm and the parts schedule. The furniture is built by your workshop or the maker you choose.
Result
Everything as a link and files
To model the room accurately, we need these measurements and a photo of each wall. A hand sketch is enough.
Measure the furniture front, not the room: the lengths of the rows are enough.
Measure the length of each row of fronts along the wall: base units, wall units, tall units, wardrobe.
Standard: base row 900 mm, wall row 720 mm, tall unit 2,100 mm, wardrobe 2,500 mm. Change them only if yours differ.
Add the rows of both walls: measure each side up to the corner.
Count each side of the island that has fronts as a row of its own.
The floor area and empty stretches of wall do not count: you pay for the furniture only.
Each wall from corner to corner, about 1 m above the floor.
Width of the opening, its distance from the nearest corner, and which way it opens.
Width and distance from the nearest corner.
Measure both diagonals. If they differ, the room is not square, which matters for furniture.
Measure in 2–3 places: floors and ceilings are rarely perfectly level.
From the floor to the sill.
From the floor to the top of the opening.
Width of the opening and its distance from the corner.
A radiator, beam, pipe or boxing: its size and position.
Two numbers for every point: its distance from the corner and its height above the floor.
Cold and hot: distance from the corner and height above the floor.
Position and height of the pipe, and its diameter if you know it.
Pipe and meter: position and size.
Each one from the corner and the floor. Mark dedicated lines for the hob and oven.
Position, height and diameter of the outlet for the hood.
A photo of a sketch on paper with dimensions is quite enough.
PDF or DWG, if you have one.
Fridge, oven, hob, dishwasher: brand and model, or dimensions.
2–3 photos of each wall of the empty room, or a short, slow video.
The numbers in the drawings are sample values in millimetres. Write yours in millimetres or metres: the request form takes either.
Photos (JPG, PNG, WEBP), video (MP4, MOV), PDF, DWG, DXF, SKP, ZIP, RAR, 7Z. Up to 20 files, 50 MB each.
No measurements yet? Send what you have, photos or a hand sketch, and we will tell you what is missing.
In the request form the camera shows you, step by step, what to capture. Use it instead of measurements or together with them.
All the walls are visible from there. Turn on the lights and open the curtains.
Aim the marker at the point where the floor meets both walls, and press the button.
Hold the phone at eye level and turn on the spot. The circle fills as you complete the turn.
A standard render shows one angle. Our 3D model also gives you what you need to decide and to produce.
Priced per m² of furniture front: for individuals from 2,000 AMD / m², for business from 5,000 AMD / m².
Send what you have, measurements, a sketch or photos, and we will tell you whether it is enough.